You can start propagating moss this weekend with about $15 of supplies and a kitchen blender you never want to use for food again. Here’s the method, the science behind why it works, and how the same simple technique scales up into a tool for healing damaged land, decorating your garden or expanding your terrariums.
Key Takeaways
- Moss is uniquely easy to propagate. Unlike most plants, tiny moss fragments can regenerate into entirely new plants, making blender-based propagation possible.
- Moisture is the key to success. Keep newly applied moss consistently damp for the first several weeks, drying out is the most common reason propagation fails.
- For large areas, broadcasting dry moss fragments can be more efficient. Mixing crumbled moss with sand and scattering it over prepared soil scales better than using slurry.
- Biodegradable jute netting significantly improves establishment. It helps hold moss in place, retains moisture, and protects fragments from erosion while they grow.
- The same technique supports ecosystem restoration. The biology behind backyard moss propagation is also used in research and large-scale efforts to restore degraded soils and post-fire landscapes.
If you’ve read our pieces on how a burn scar heals and what a biocrust is, you know why moss matters: it’s the fast-growing, propagable pioneer that rebuilds a living soil surface, holds ground against erosion, and lays the foundation for everything that grows next. The natural next question is the fun one — how do I actually grow it myself?
The good news is that growing moss is one of the few genuinely accessible pieces of restoration science. The most popular method needs nothing more exotic than a blender, some buttermilk, and patience. Let’s walk through it.
The one biological fact that makes this possible
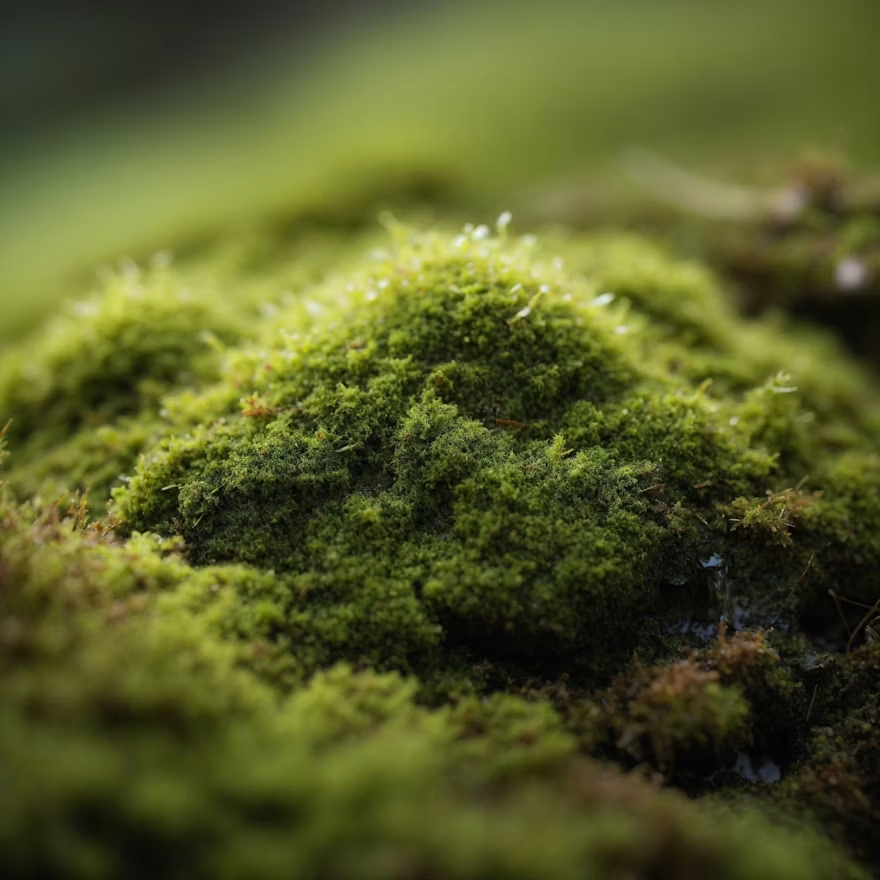
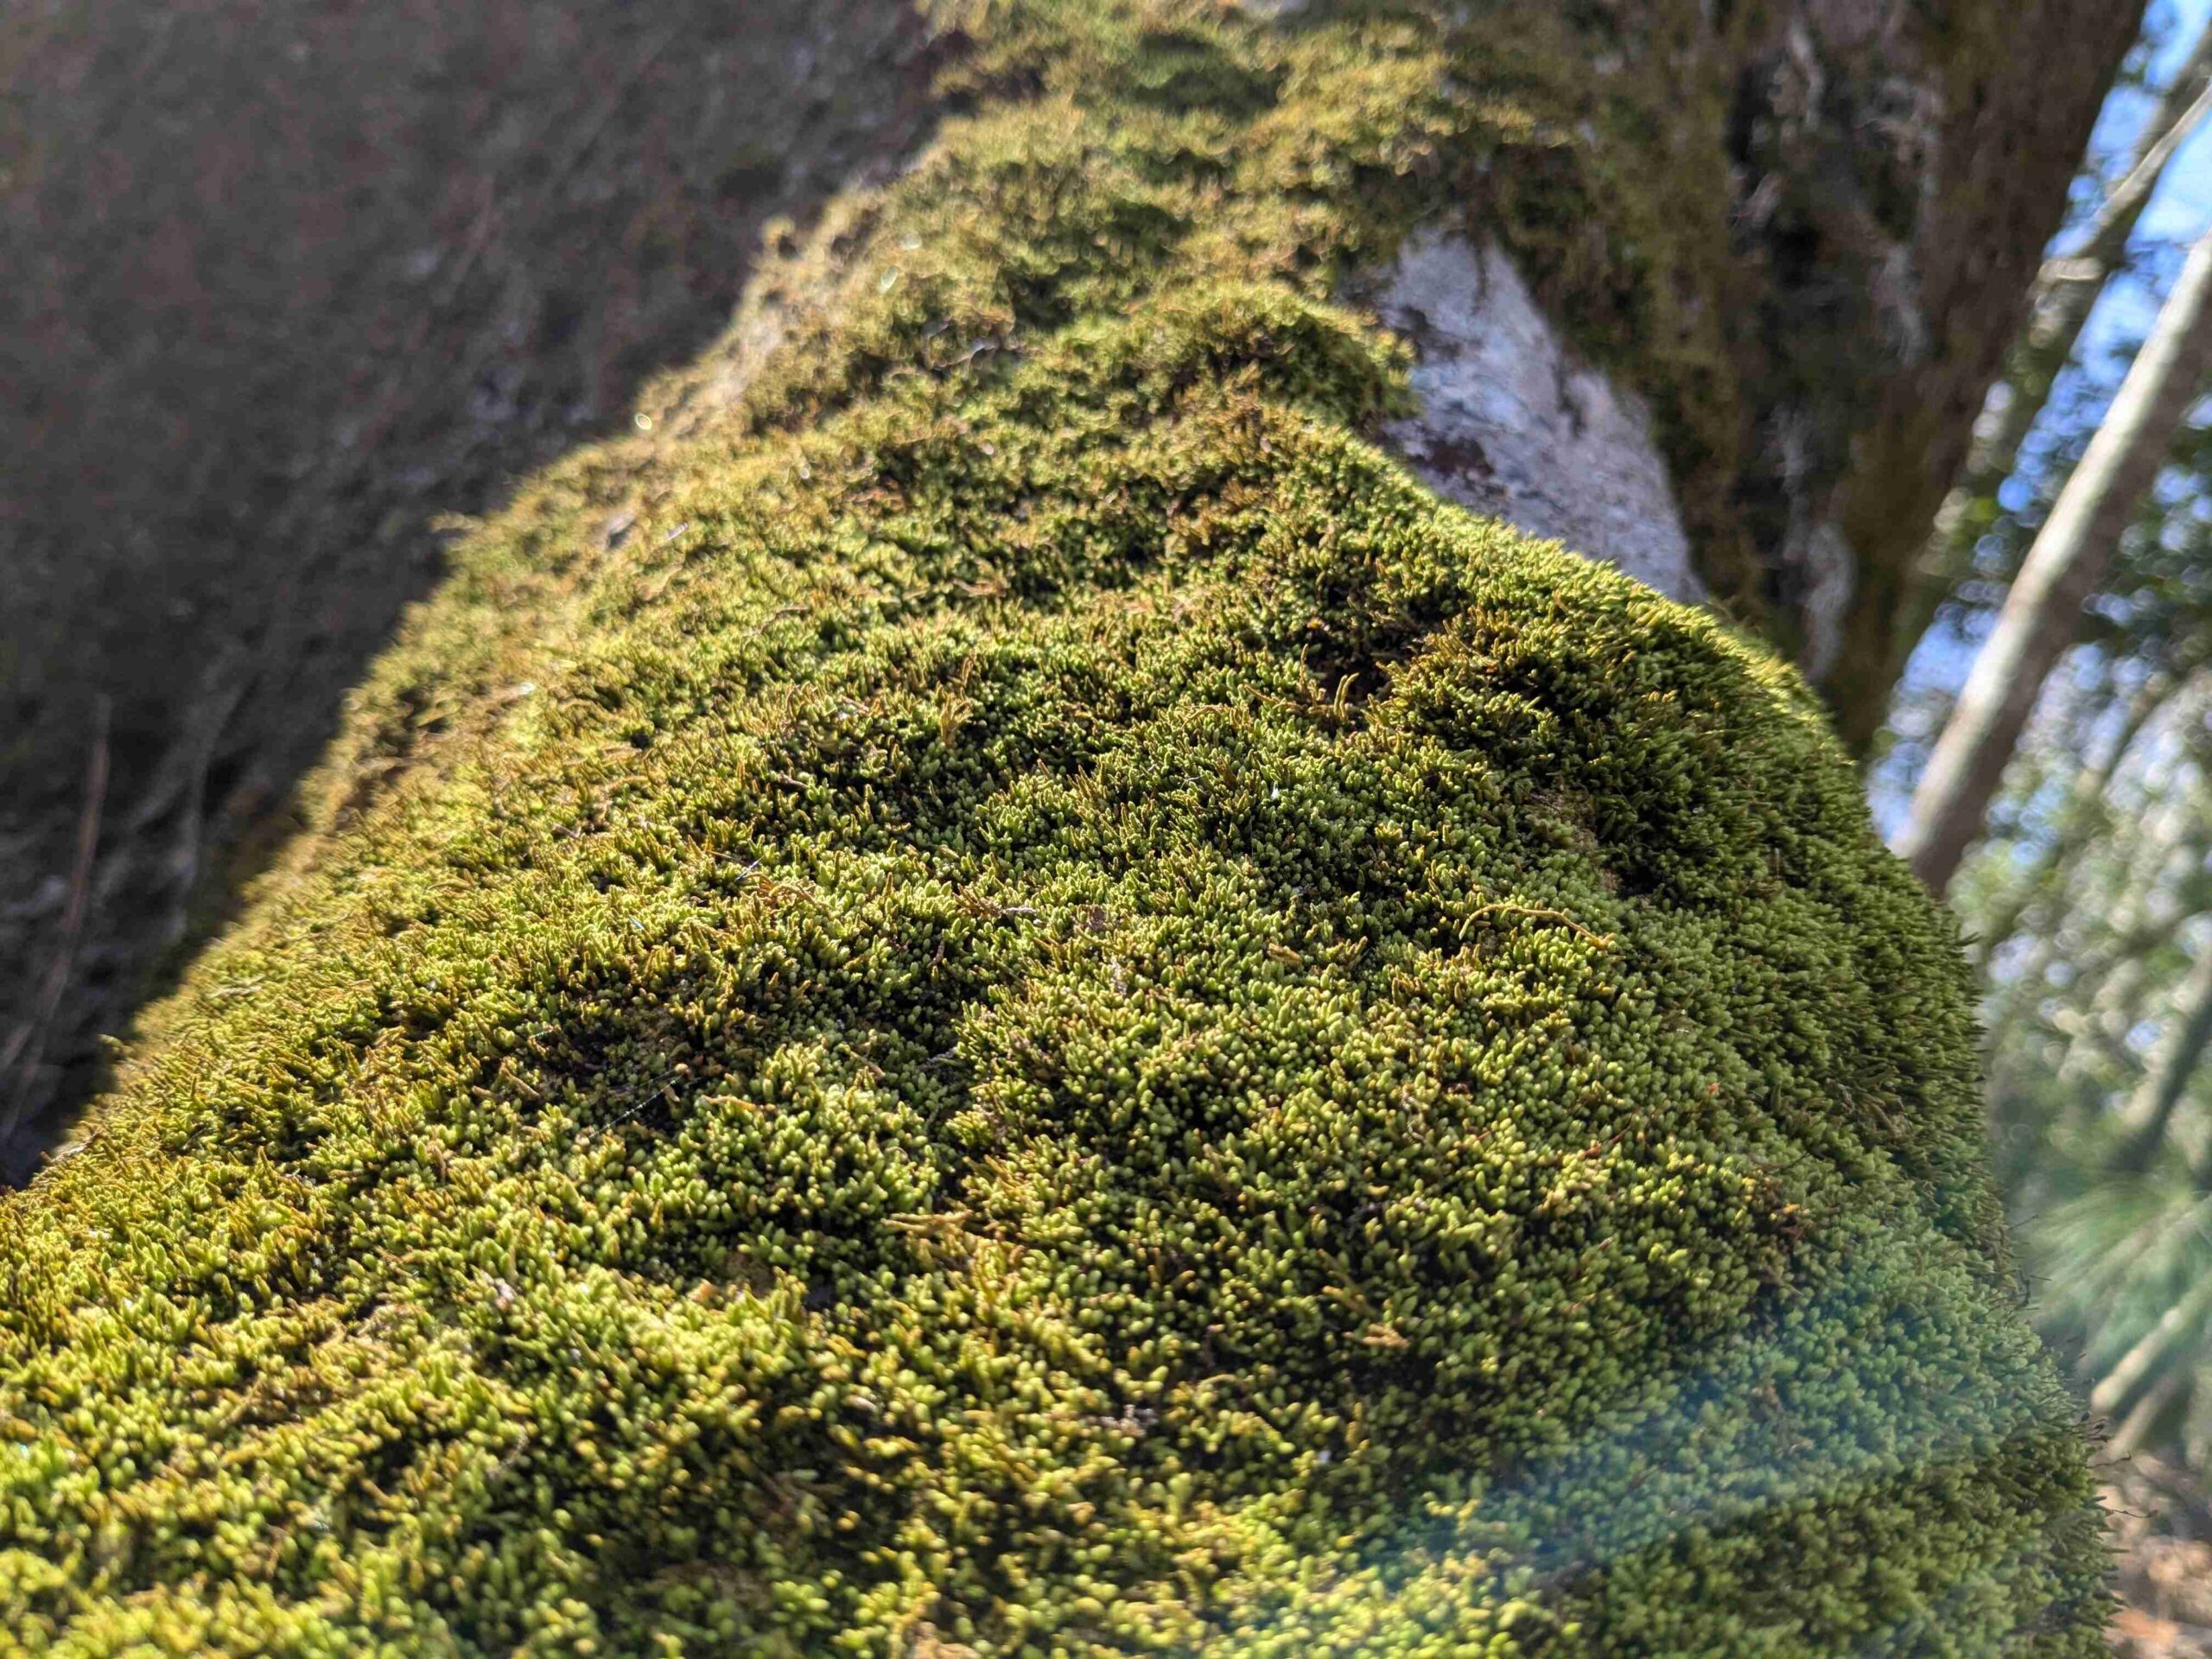
Here’s what makes moss different from almost every other plant you might try to propagate: every fragment of a moss plant can regenerate into a whole new plant. Moss cells are totipotent — a small piece of leaf or stem, given moisture and light, can grow an entirely new individual from scratch.
This is why you can put moss in a blender and help it rather than kill it. As Virginia Master Gardeners describe the process, drying the moss first actually primes it: “the moss prepares itself, as it dries, to quickly regenerate from any cell” (JCC Williamsburg Master Gardener Association). Chopping a clump into hundreds of fragments doesn’t destroy one moss plant — it creates the starting material for hundreds.
That single fact is the engine behind everything from a backyard moss garden to landscape-scale post-fire restoration.
Method 1: The buttermilk slurry (the classic)
This is the famous “moss milkshake” or “moss paint.” It’s best for coating rocks, walls, pots, compacted soil, and garden features — anywhere you want moss to take hold on a firm surface.
What you’ll need
- A handful of living or dried moss (locally collected with permission, or purchased)
- Buttermilk (or plain yogurt, or beer, more on why below)
- Water
- A blender you’ll dedicate to garden use forever after
- A paintbrush, spray bottle, or trowel
- A misting bottle for the weeks afterward
The classic recipe, straight from University of New Hampshire: mix 2 parts moss, 2 parts water, and 1 part buttermilk in a blender, blend thoroughly, and spread the mixture over the area where you want moss to grow. Then keep it misted, never letting it dry out completely, until the moss establishes itself (UNH Extension, How to Grow Moss). And yes, their advice is explicit: don’t reuse that blender for food.
Why buttermilk? It does two jobs at once. It keeps the fragments moist and helps the slurry cling to surfaces, and its mild acidity creates conditions moss loves but weeds and competing fungi don’t. Mosses generally prefer slightly acidic conditions, which is why acidic binders like buttermilk, yogurt, or beer all work (Homesteading.blog, moss slurry guide).
A more reliable modern version. Early slurry recipes often failed, usually from drying out. The fix that experienced growers now recommend is adding a small amount of water-storing polyacrylamide crystals: about ½ teaspoon of crystals to ½ cup of dried, shredded moss, blended with 2–3 cups of liquid (JCC Williamsburg Master Gardener Association). The crystals hold moisture between mistings — the single biggest predictor of success.
Step by step
- Dry the moss first. Lay it on paper indoors, out of direct sun, for 3–4 days until it crumbles. This primes the cells to regenerate and lets you clean out sticks and debris.
- Blend on LOW. You want fragments around ¼ inch — not a fine purée. Over-blending kills vitality.
- Prep the surface. Clear competing weeds, lightly firm and moisten the spot. Moss likes a compact surface, not loose soil.
- Apply. Brush, spray, or spread a thin layer (about ⅛–¼ inch).
- Mist, mist, mist. Keep it damp for the first 2–6 weeks. Use rainwater or distilled water if you can, tap water’s minerals are hard on moss over time.
- Wait. Expect a faint green bloom in 2–4 weeks and a filled-in mat over 6–12 months.
Method 2: Dry fragment broadcast (for larger flat areas)
If you’re covering a lot of flat ground rather than a rock or wall, skip the slurry. Crumble dried moss, mix it with coarse sand (roughly 1 part moss to 4–8 parts sand), and scatter it over prepared, firmed, moist soil. It’s faster than mixing and applying slurry, and it scales: one person can broadcast over a thousand square feet of prepared ground in an hour.
Oregon State University’s bryology program notes that both blending and transplanting methods work, and recommends combining them — transplant clumps for an instant “finished” look, then fill the gaps with blended fragments (Oregon State University, Establishing Mosses in Gardens).
The one upgrade that dramatically improves your odds
Whatever method you use, there’s a single, research-backed addition that consistently boosts results on bare or sloped ground: cover the area with biodegradable jute netting.
In a multi-year U.S. Forest Service restoration experiment, plots protected with jute ground cloth ended up with several times more moss cover than bare-ground plots — up to roughly five times more, three to four years after inoculation (Slate et al., 2020, Restoration Ecology). The netting shields fragments from wind and rain displacement, buffers temperature and moisture, then biodegrades on its own as the moss takes over. At a few cents per square foot, it’s the highest-value upgrade in the whole process.
A few things that quietly kill moss
Most moss-growing failures come down to a short list of avoidable mistakes:
- Letting it dry out. This is the number one killer. Consistent moisture during establishment is everything. Avoid propagating in direct sun.
- Fertilizing it. Counterintuitively, mosses get their nutrients from air and rain, not soil, and standard fertilizers, especially high-nitrogen ones, will harm or kill them. Don’t feed your moss.
- Using tap water long-term. Mineral buildup damages moss over time. Rainwater, distilled, or reverse osmosis water is better.
- Full sun and loose soil. Moss wants shade-to-dappled light and a firm surface. Loose, sandy ground lets slurry wash away.
From your backyard to a burn scar
Here’s what’s genuinely exciting about this humble blender technique: it’s the same biology used at every scale of serious restoration. The fragmentation that turns one clump into a garden patch is the same principle behind greenhouse moss nurseries that produce inoculum to rehabilitate degraded dryland soils (Antoninka et al., 2016, Restoration Ecology). The acidic-binder slurry you brush onto a rock is the small-scale cousin of the tackifier slurries sprayed across hillsides. And researchers are now finding ways to supercharge establishment further — for example, pairing moss with helper microbes pushed lab-grown moss coverage above 97% in one study (Tian et al., 2022, Frontiers in Microbiology).
One more practical insight from the science, if you ever graduate from your backyard to real restoration: source your moss from a climate similar to where you’re planting it. A study of arid-land moss restoration found that fragments collected from warm, dry sites established far better on a warm, dry restoration site than fragments from cool, moist origins — and that adding organic matter and letting moss grow over winter sharply improved cover (Condon & Pyke, 2016, Ecology and Evolution). Local, climate-matched material wins.
So start small. Grab a clump, a blender, and some buttermilk, and turn a $15 experiment into a living patch of green. You’ll be practicing, at kitchen scale, the exact technique that rebuilds the living skin of damaged land.
Video Tutorials
Video is always a helpful resource. Here are a few tutorials that show the process in action:
Leave a Reply